How to: Install Cedral Click
The UK’s first and only fibre cement tongue and groove external cladding material.


The UK’s first and only fibre cement tongue and groove external cladding material.
Cedral Click is the UK’s first and only fibre cement tongue and groove external cladding material. Cedral Click has been specified by housebuilders and contractors looking to create inspirational and visually striking developments, and is now growing in popularity amongst self builders.
In addition to its visual appearance, self-builders and homeowners are specifying Cedral Click due to the performance of the material. Fibre cement is extremely low maintenance, there’s no need for continual repainting and it can stand up to the harshest of weather conditions.
Please note that the distance from the edge of the clip to the edge of the plank should not exceed 60mm. For the final plank at the top of the facade, there are two options. If the facade finishes with a whole plank, simply fix with clips. Alternatively, if the facade requires a trimmed plank, fix with coloured mushroom head screws, which must be inserted perpendicular to the panel surface using an electric drill and high quality bit.
For complete fixing instructions, visit Cedral.
Press release and images supplied by Cedral.
 https://ajwdistribution.com/wp-content/uploads/2019/12/ajw-logo-small-300x138.png
0
0
30two
https://ajwdistribution.com/wp-content/uploads/2019/12/ajw-logo-small-300x138.png
30two2015-10-15 10:28:222021-01-13 08:55:19Cedral Board
https://ajwdistribution.com/wp-content/uploads/2019/12/ajw-logo-small-300x138.png
0
0
30two
https://ajwdistribution.com/wp-content/uploads/2019/12/ajw-logo-small-300x138.png
30two2015-10-15 10:28:222021-01-13 08:55:19Cedral Board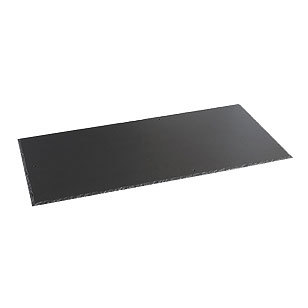 https://ajwdistribution.com/wp-content/uploads/2015/10/marley-birkdale-slate-tile-main.jpg
308
308
30two
https://ajwdistribution.com/wp-content/uploads/2019/12/ajw-logo-small-300x138.png
30two2015-10-15 10:33:382021-07-05 14:38:29Birkdale Fibre Cement Slate
 https://ajwdistribution.com/wp-content/uploads/2015/10/marley-rivendale-tile-main.jpg
308
308
30two
https://ajwdistribution.com/wp-content/uploads/2019/12/ajw-logo-small-300x138.png
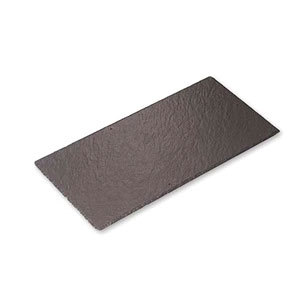
30two2015-10-15 10:33:382021-07-05 14:40:26Rivendale Fibre Cement Slate
 https://ajwdistribution.com/wp-content/uploads/2015/10/marley-thrutone-slate-tile-main.jpg
308
308
30two
https://ajwdistribution.com/wp-content/uploads/2019/12/ajw-logo-small-300x138.png
30two2015-10-15 10:33:382021-07-05 14:41:27Thrutone Fibre Cement Slate
 https://ajwdistribution.com/wp-content/uploads/2015/10/C76-Tea-Green-2-scaled.jpg
1707
2560
Ava Milne
https://ajwdistribution.com/wp-content/uploads/2019/12/ajw-logo-small-300x138.png
Ava Milne2023-09-05 09:50:322023-10-10 13:52:37Cedral Click Weatherboard External Cladding
 https://ajwdistribution.com/wp-content/uploads/2023/09/C74-Basalt-Grey-2-scaled.jpg
1707
2560
Claudia Miles
https://ajwdistribution.com/wp-content/uploads/2019/12/ajw-logo-small-300x138.png
Claudia Miles2023-09-28 20:57:522023-09-28 21:09:57Cedral Lap Weatherboard External Cladding
Download the latest AJW Distribution catalogue…
© 2024 AJW Distribution Ltd | All rights reserved | Design by 30two
This website uses cookies so that we can provide you with the best user experience possible. Cookie information is stored in your browser and performs functions such as recognising you when you return to our website and helping our team to understand which sections of the website you find most interesting and useful.
You can adjust all of your cookie settings by navigating the tabs on the left hand side.
Strictly Necessary Cookie should be enabled at all times so that we can save your preferences for cookie settings.
If you disable this cookie, we will not be able to save your preferences. This means that every time you visit this website you will need to enable or disable cookies again.
This website uses Google Analytics to collect anonymous information such as the number of visitors to the site, and the most popular pages.
Keeping this cookie enabled helps us to improve our website.
Please enable Strictly Necessary Cookies first so that we can save your preferences!
At AJW Distribution Ltd, we are committed to respecting the privacy of our customers and therefore any data provided will only be used in accordance with GDPR guidelines. More information can be found in our Cookie Policy
