How to approach sorting and grading slate
Grading Slate: It is possible to find natural slates in nearly every shape and size. From CUPA PIZARRAS 20 quarries and 24 transformation plants, the quality control team classify natural slate into three different selections.
‘R’ RANGE is the result of a more rigorous selection process. The R and R Excellence selections are the result of an extraordinarily rigorous classification process that only passes slates of great flatness and very regular thickness.
‘H’ RANGE is from the same origin as R and complies with all international regulations and requirements in relation to quality. This natural slate features slight differences in thickness and flatness.
‘NATURAL’ RANGE boasts the guarantee and quality common to all CUPA PIZARRAS natural slate collections. Workers laying this type of natural slate need to invest time within the sorting and grading process.
‘HEAVY’ RANGE is composed exclusively of slate of 7-9 mm in thickness, creating a rustic and artisanal effect. This natural slate selection provides your roof with a unique personality.
However, do not forget that whatever the selection, ALL natural slates produced in the world need to be sorted and graded before installing.
Not only is it recommended, it is part of the regulations, BS 8000 Part 6 2013 Code of Practice for Slating and Tiling states:
“Sorting slates by thickness is as an important part of the slating process as fixing them is.”
Due to lack of time, or because it is deemed not to be important, this process is sometimes avoided. This is a big mistake both in terms of aesthetics and performance as the roof will look bumpy and will require maintenance.
Sorting and grading gives the roof an improved aesthetic finish and a stronger resistance to wind lift.
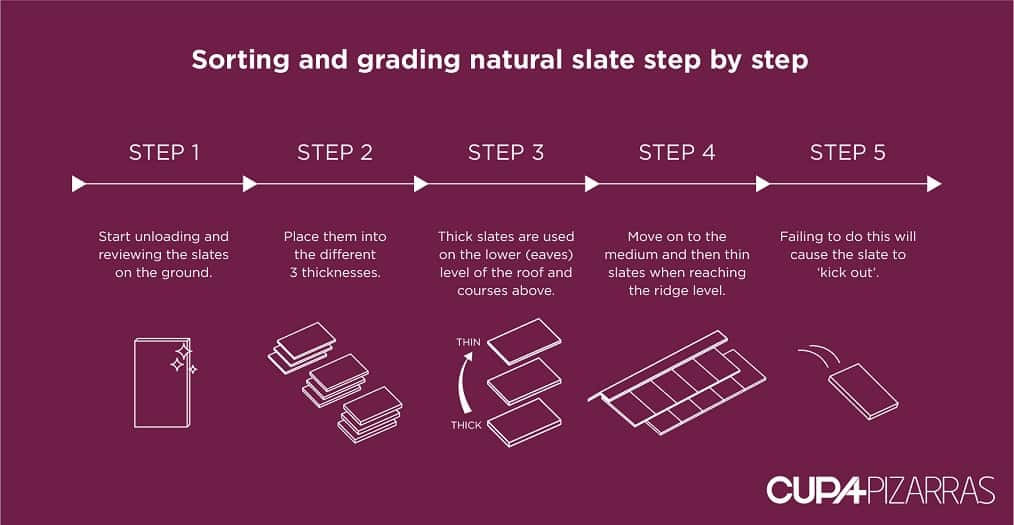
Sorting and grading natural slate step by step:
Before anything, remember to remove the pallet ID and keep in a safe place. We recommend you take a quick snap or peel them before starting the process as you can request a Guarantee Certificate through our online tool
- Start unloading and reviewing the slates on the ground, there is more space!
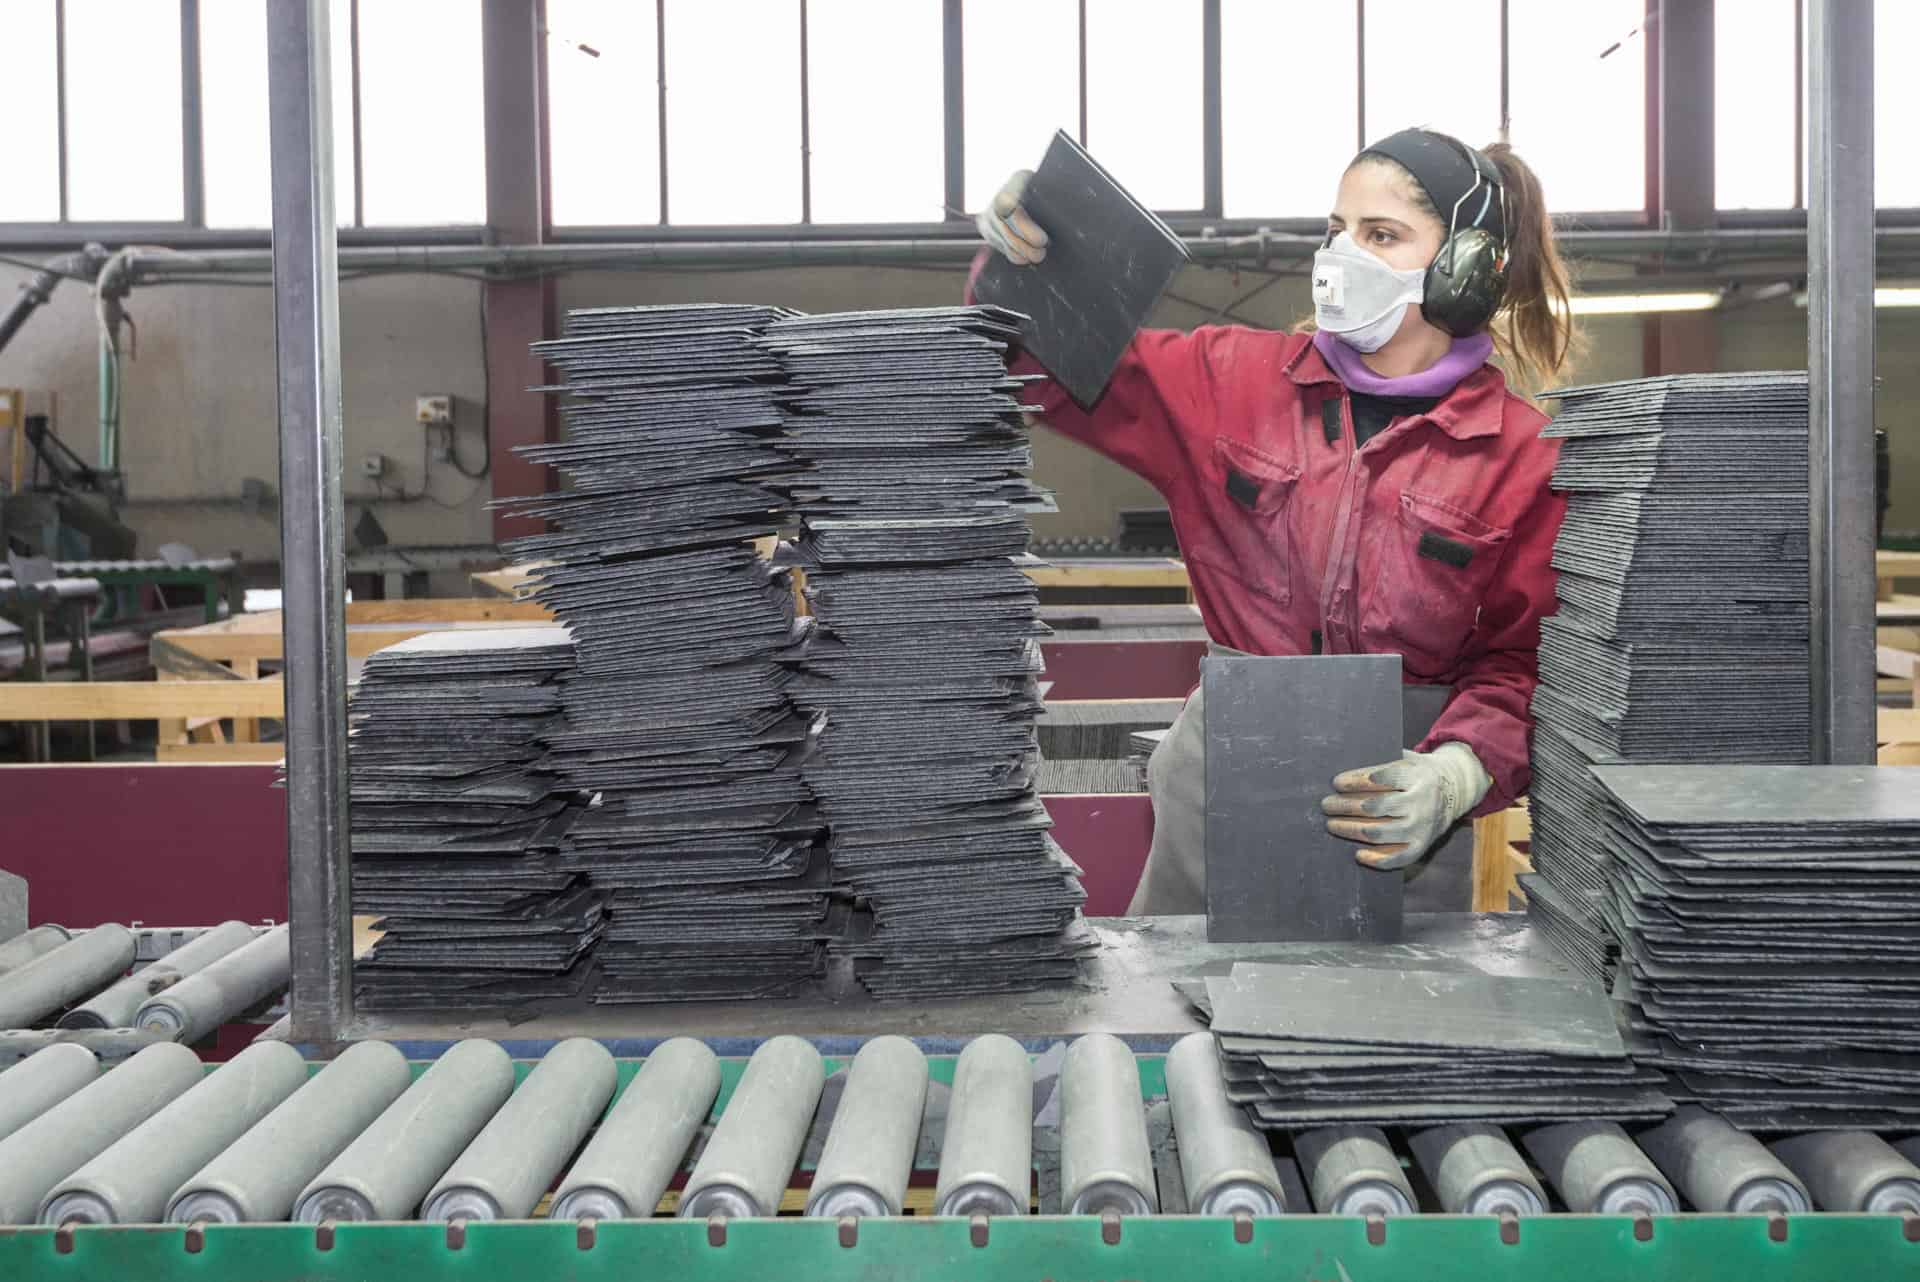
- Place the slates into 3 different thicknesses, this process is done by touch and eye.
- Thick slates are used on the lower level (eaves) of the roof and courses above.
- Move on to medium slates
- Use thin slates when reaching the ridge level.
Failing to do this will cause the slate to ‘kick up’ and may also affect the courses above. Trevor Mansfield, Technical Sales Manager at CUPA PIZARRAS explains what could happen:
If a thick slate is laid next to a thin slate, when the next course above is laid it would ‘kick up”, not sit flat, and there would be a pronounced gap under the tail, allowing wind driven rain to enter underneath. Gaps could also cause the slates to ‘chatter’, in effect rattling against each other.
Relying on quality natural slates is important but is not enough if you do not do a quality slate roof installation. Trevor also confirms that,
Natural selection slates will need more diligent sorting before fixing whereas R Excellence grade slates will need minimalistic sorting and grading. This should be taken into account when deciding which grade of slates to purchase. There will be a reason for the difference in price between grades and quality of slate.
Here’s a top tip for you , some roofers like stack them head down, tail upwards in slightly staggered stacks of ten: the tails are free from any accidental damage, and it’s easy to see how many slates there are in each row.
If you need more information about this process, do not hesitate to contact CUPA as their team of roofing experts are at your complete disposal.
Or you can contact your local AJW depot.


